
The photographer's technique of using light
- enze6799
- Jan 11
- 5 min read
Mastering Light Manipulation: Essential Techniques for Photographers
Light is the cornerstone of photography. It has the power to transform an ordinary scene into a breathtaking masterpiece. For photographers, understanding and effectively utilizing light is crucial for capturing high - quality images that convey the desired mood and message. Here are some in - depth techniques for making the most of light in your photography.

Understanding Natural Light Patterns
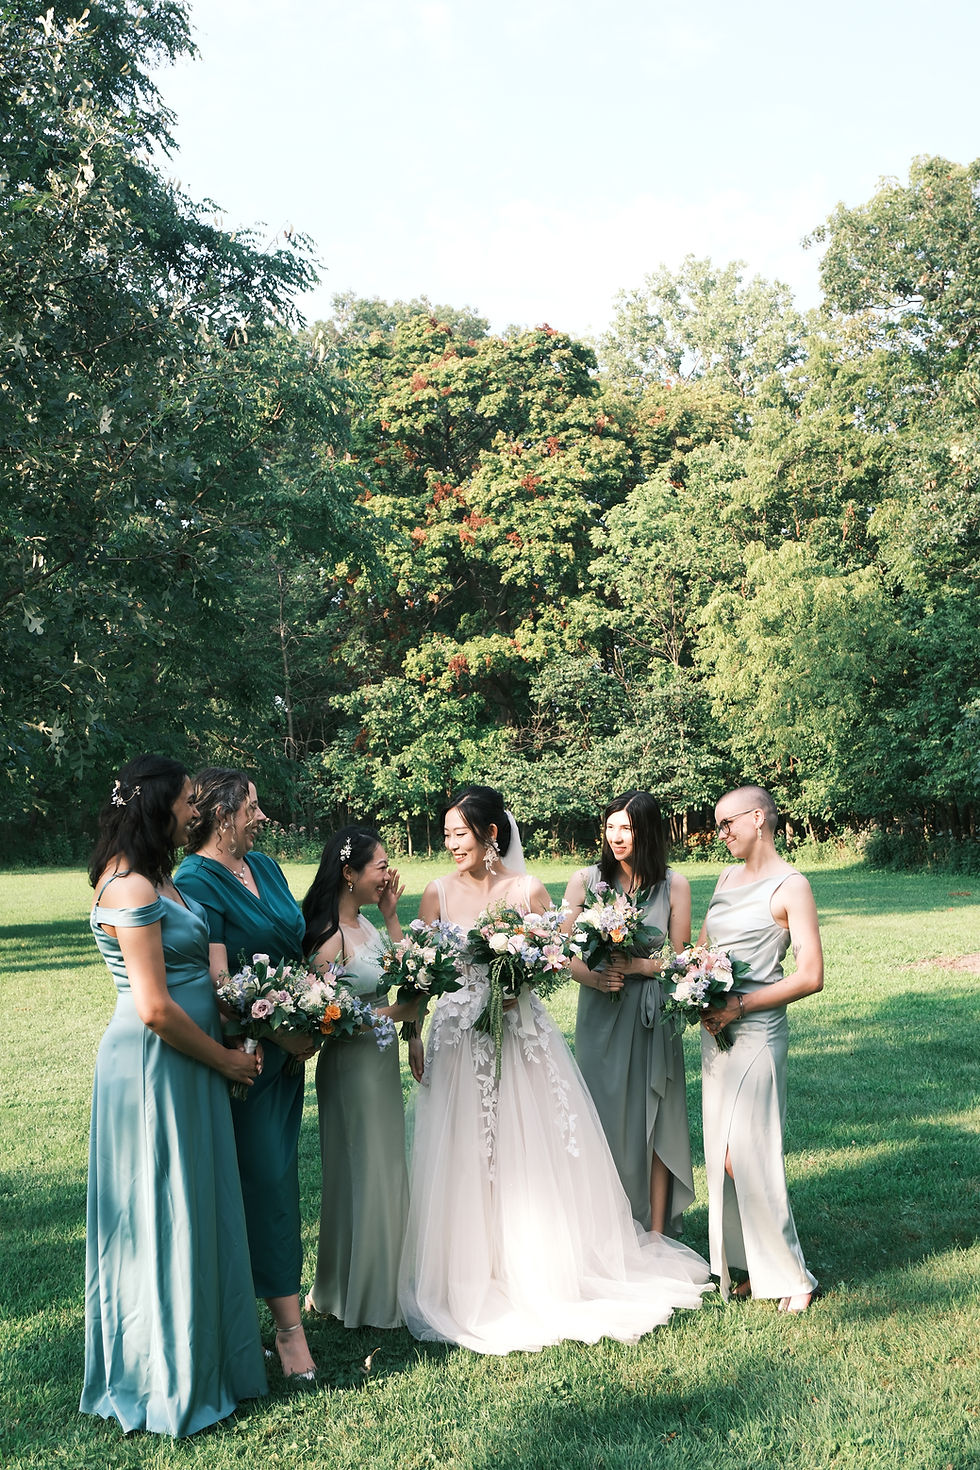
Natural light is a free and abundant resource that photographers can harness to create stunning images. The quality and direction of natural light change throughout the day, presenting different opportunities and challenges.
Golden Hour Magic
The golden hour, which occurs shortly after sunrise and before sunset, is highly sought after by photographers. During this time, the sun is low in the sky, casting a warm, soft, and golden - hued light. This light creates long shadows and adds a beautiful, flattering glow to subjects. When shooting during the golden hour, position your subject in a way that the light hits them from the side. This side - lighting technique enhances the texture and depth of the subject, making it stand out against the background. For example, if you're photographing a portrait, the side - light will accentuate the contours of the face, creating a more three - dimensional look.
Midday Light Challenges
Midday light, when the sun is directly overhead, can be harsh and unflattering. It creates strong shadows under the eyes, nose, and chin in portraits, and can wash out colors in landscapes. However, there are ways to work with midday light. One approach is to look for shaded areas. Shaded areas provide a more even and diffused light, reducing harsh shadows. You can also use a reflector to bounce light onto the shadowed parts of your subject, filling in the shadows and creating a more balanced exposure. Another option is to shoot subjects that are backlit. Backlighting can create a beautiful rim - light effect around the subject, separating them from the background and adding a sense of drama to the image.
Overcast Day Opportunities
Overcast days may seem like a drawback for photography, but they actually offer a unique advantage. The cloud cover acts as a natural diffuser, spreading the light evenly across the scene. This soft, diffused light is ideal for portraits, as it minimizes shadows and creates a smooth, flattering skin tone. It's also great for macro photography, as it allows you to capture fine details without harsh highlights or deep shadows. On an overcast day, you can focus on the subject's expression or the intricate details of an object, knowing that the light will enhance rather than detract from the image.

Manipulating Artificial Light Sources
In addition to natural light, photographers often use artificial light sources to control the lighting conditions in their shots. There are various types of artificial light, each with its own characteristics and uses.
Continuous Light Control
Continuous light sources, such as lamps and LED panels, provide a constant stream of light. This makes it easier to see how the light will affect your subject in real - time. When using continuous light, you can adjust the intensity of the light by moving the light source closer or farther away from the subject. Moving the light closer will increase the intensity, creating a brighter and more defined look, while moving it farther away will soften the light. You can also change the angle of the light to create different effects. For example, a low - angle light can create a dramatic and moody atmosphere, while a high - angle light can give a more natural and flattering look.
Flash Photography Techniques
Flash is a powerful tool that can add a burst of light to a scene, especially in low - light situations. However, using flash incorrectly can result in harsh, unflattering images. To avoid this, you can use a diffuser on your flash. A diffuser spreads the light out, creating a softer and more even illumination. You can also bounce the flash off a ceiling or wall. Bouncing the flash redirects the light, creating a more natural - looking light source. When bouncing the flash, consider the color of the surface you're bouncing it off. A white ceiling or wall will reflect a neutral - colored light, while a colored surface may add an unwanted tint to your image.
Mixing Natural and Artificial Light
Combining natural and artificial light can create unique and interesting effects. For example, you can use natural light as the main light source and then add a touch of artificial light to highlight a specific part of the subject. This technique is often used in portrait photography to draw attention to the eyes or add a sparkle to jewelry. When mixing light sources, be aware of the color temperature differences. Natural light and artificial light can have different color temperatures, which can result in a color cast in your image. You can use white balance settings on your camera to correct for these differences and achieve a more natural - looking color balance.
Using Light to Create Mood and Depth
Light is not just about illuminating a subject; it's also a powerful tool for creating mood and depth in your images.
High - Key and Low - Key Lighting
High - key lighting is characterized by bright, even illumination with few shadows. It creates a light, airy, and cheerful mood, often used in fashion and beauty photography. To achieve high - key lighting, use multiple light sources to flood the scene with light. You can also use white backgrounds to reflect light back onto the subject, further reducing shadows. Low - key lighting, on the other hand, uses a limited amount of light to create strong contrasts between light and dark areas. It creates a dramatic, mysterious, and often moody atmosphere, commonly used in film noir - style photography and portraiture. To create low - key lighting, use a single light source and position it to create deep shadows. You can also use dark backgrounds to enhance the contrast and make the subject stand out.
Light and Shadow Play
The interplay between light and shadow can add depth and dimension to your images. By strategically placing light sources, you can create interesting patterns of light and shadow on your subject or in the background. For example, you can use a grid or snoot on your flash to create a narrow beam of light that casts distinct shadows. You can also use natural elements like tree branches or window blinds to create patterns of light and shadow on a wall or floor, adding visual interest to your composition. Experimenting with different angles and intensities of light can help you discover new and creative ways to use light and shadow in your photography.

Backlighting for Depth
Backlighting is a technique where the light source is placed behind the subject. This creates a rim - light effect around the subject, separating them from the background and adding a sense of depth to the image. Backlighting can also create a beautiful halo of light around the subject, especially when shooting subjects with translucent elements like flowers or hair. When using backlighting, be careful not to overexpose the background. You may need to adjust your camera settings, such as the aperture and shutter speed, to achieve a balanced exposure between the subject and the background. You can also use a reflector or fill - flash to add some light to the front of the subject, reducing the contrast and ensuring that the details are visible.


Comments